
There are few modern kitchen appliances as usefully diverse as the blender. Need a nutritious morning meal that you can have on the go? Throw some fruits, vegetables, and yogurt into a blender and make yourself a delicious breakfast smoothie. In the mood for a tasty mid-day pick-me-up? Some milk, a shot of espresso, and a few of your favorite flavor syrups can be blended together into a homemade latte that will keep you happy and productive for hours on end. How about dessert? Holiday side-dishes? Weight loss foods?
The answer always seems to be high-quality ingredients and a superior blender from Blendtec. But did you know that blenders are useful for more than just food preparation? With the right know-how, blenders can be used to make all sorts of useful substances. Read on to see what kind of non-foods you could be making for yourself, courtesy of Blendtec.
1. Coconut oil sunscreen
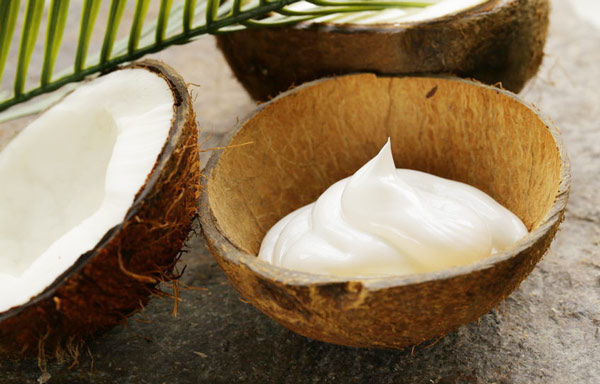
- In a small pan on low heat, melt together your coconut oil, sesame/jojoba oil, shea butter, and beeswax. The beeswax will take the most time to melt. Stir continually to prevent ingredients from burning. Once entirely melted, remove the mixture from the heat and allow it cool to room temperature.
- If you are using zinc oxide, carefully whisk it into the mixture at this point. There may be a few remaining lumps when you’re finished, but that is normal.
- Refrigerate the mixture for 15–30 minutes, or until the mixture has begun to set (but is still soft enough to whip).
- In a Blendtec blender, combine the mixture with any essential oils you may choose to include. Add the raspberry seed oil and the carrot seed oil, and blend at a low setting to whip the mixture together.
- Apply as you would regular sunscreen. Store excess in the refrigerator.
2. Sidewalk paint
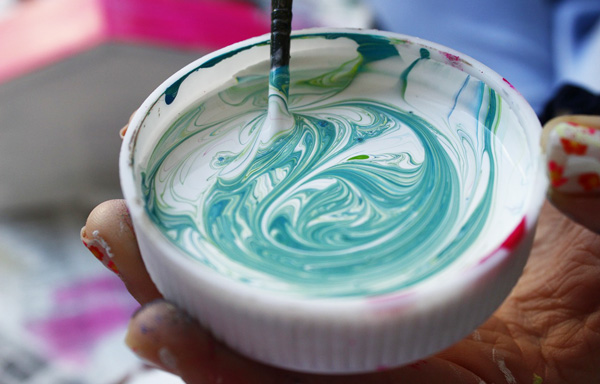
If you’ve got school-aged children, then Summer vacation can be bittersweet. Sure, it’s nice to be able to spend more time with the family around the house, but coming up with new and exciting ways to keep them entertained—without just dropping them in front of the television from June to September—can be taxing. Well, here’s a fun craft-time idea that will get your kids out of the house and having fun, courtesy of Sherrie via About.com.
Ingredients
½ cup water
½ cup cornstarch
12 drops food coloring (more or less to achieve desired hue)
Directions
- Combine the cornstarch and water together in a Blendtec blender, and blend on low speed until the mixture is uniform. Set aside.
- Repeat recipe with different food colors to achieve a wider range of colors to use.
- Using paintbrushes and sponges, decorate the sidewalk with fun colors and images. The paint can be washed away with water.
3. Antibiotic ointment

Generally, small cuts and burns aren’t that big of a deal. But when those small cuts and burns end up getting infected, it can lead to increased discomfort and potentially other, more serious health issues. By applying antibiotic ointment to an injured area, you can decrease the risk of having to deal with bigger problems down the line. And, with this recipe, from Sarah at Popsugar, you’ll be able to make your own ointment for use against not only cuts and burns, but also rashed, dry-skin patches, and even athlete’s foot—all from natural ingredients. Once finished, wash the blender container thoroughly with hot water to remove any beeswax residue.
Ingredients
4 tbsp beeswax
½ cup coconut oil
15 drops tea tree oil (optional)
10 drops lavender oil (optional)
1 tbsp witch hazel
Directions
- In a small microwavable bowl, combine the coconut oil and beeswax, and use a microwave to heat the oil and beeswax in small bursts until the beeswax is completely melted.
- Place the bowl on a flat, heat-resistant surface, and add the tea tree and lavender oils. However, be aware that some types of sensitive skin may be irritated by these oils, so you may choose to leave these out—especially if you are planning on using the ointment on small children.
- Combine the mixture with the witch hazel and place in a Blendtec blender. Blend on high for a few minutes or until it thickens into a cream.
- Store the ointment in a glass container in a cool spot and out of direct sunlight. Use a clean cotton swab to apply topically to injuries, so as not to contaminate the mixture with your hands.
4. Compost
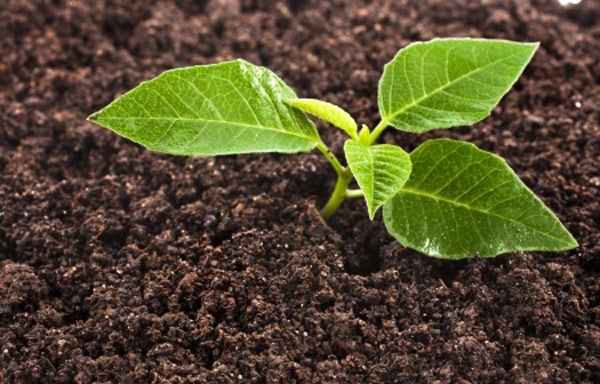
OK, it turns out that we lied; a few of these recipes are for food, just not human food. Compost can be used to provide essential nutrients for the plants and vegetables found in your yard and garden, and it doesn’t take much effort at all to whip up a batch.
Ingredients
Any compostable food scraps (such as banana peels, coffee grounds, tea leaves, fruits and vegetable scraps, egg shells, bread crusts, etc. Avoid meat, dairy, and bones).
Water
Directions
- As you finish eating, place compostable scraps into a Blendtec blender.
- Add water until it covers the scraps
- Puree scraps on high until the mixture is smooth and homogeneous.
- Pour the mixture into the soil of your yard and garden. By first pureeing the mixture, you’ll be giving your plants a head-start on breaking down the nutrients!
5. Plant food
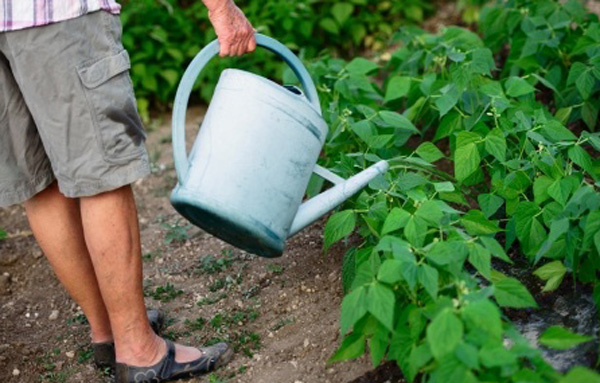
While we’re on the topic of blending up some food for your plants, here’s another recipe that you can use to ensure that your leaf-bearing friends are getting the nutrition they need to grow green and strong. By using comfrey, a plant with a deep root system that draws useful nutrients out of the ground and stores them in its leaves, you’ll be putting your garden on a diet-program that will keep it healthy throughout the year.
Ingredients
Several large stalks of comfrey
Water
Directions
- Gather several stalks of comfrey. The plant is at its most useful before it develops blossoms.
- Place the comfrey in a Blendtec blender. Add water. Blend on high until the mixture is uniform.
- If the mixture seems thick, add more water and blend again. The resultant mixture should be very thin and watery.
- Pour the mixture onto the soil of your garden.
- If you don’t have access to comfrey, consider gathering any weeds that might be growing in your garden, and using them instead. However, be careful not to include any weed seeds in your mixture, or you’ll end up with an explosion of weeds once the growing season hits.
6. Hand and body lotion
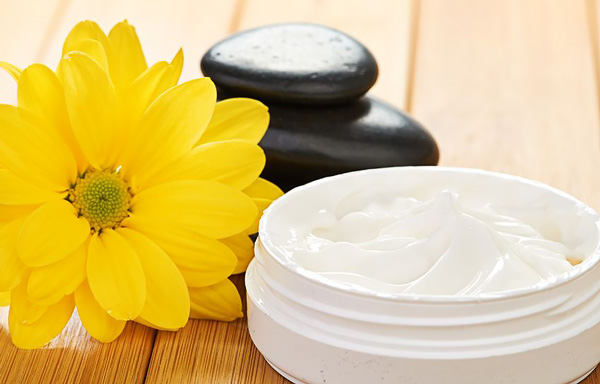
A lot of lotions rely heavily on oils to help keep the skin moisturized. This is fine, except that often times the end result is that those who use them end up with greasy-feeling hands and faces. On top of all of that, high-quality lotion can be incredibly expensive. Avoid oily hands and empty wallets, and instead make your own superior lotion at home, with this recipe from Betsy at DIY Natural. Once finished, wash the blender container thoroughly with hot water to remove any beeswax residue.
Ingredients
1 cup pure aloe vera gel
1 tsp vitamin E oil
15 drops essential oil (of your choice)
½ cup sweet almond oil, grapeseed oil, or jojoba oil
½ cup beeswax (grated)
Water (for boiling)
Directions
- Combine aloe vera gel, vitamin E oil, and essential oil in a medium sized bowl. Allow the bowl to sit out until the contents reach room temperature. Set aside.
- Combine sweet almond oil (or grapeseed oil or jojoba oil) with beeswax in a glass measuring cup. Set aside.
- Place water in a pan and then place the glass measuring cup in the pan as well. Be careful not to let the mixture inside the measuring cup mix with the water.
- Bring the water to a slow boil. As it heats, gently stir the beeswax/oil mixture in the measuring cup, until the beeswax is completely melted. Carefully remove measuring cup from water.
- Pour beeswax/oil mixture into a Blendtec blender. Allow it to cool until soft.
- Remove the plastic insert from the top of the blender, and blend the mixture together on low speed, while carefully adding the aloe vera mixture from step 1.
- Blend until mixture reaches a uniform consistency, stopping to scrape the sides when necessary. Be patient, as this may take some time.
- Store in glass jars. Refrigerate for extended use.
7. Olive oil face cleanser
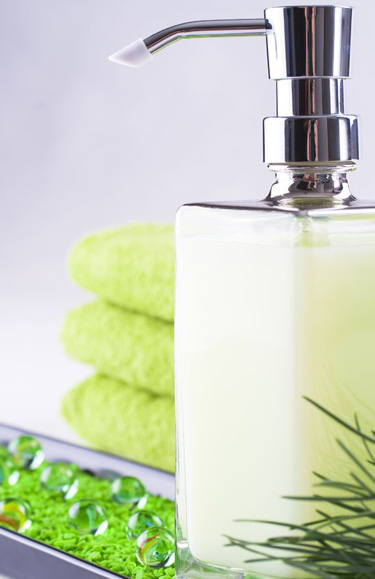
For good or ill, your face is generally the first thing that someone notices about you. As such, your face is basically your ambassador to the world, and the opinions that others come to develop about you will often depend heavily on the condition of your face. Sound unfair? It is, but it’s also part of life.
The good news is that you can always put your best face forward by keeping it healthy and clean, and you can keep it healthy and clean with this inexpensive, moisturizing, easy-to-make, DIY face wash. Special thanks to The Prairie Cottage for the recipe.
Ingredients
2 tbsp water
2 tsp baby wash OR liquid face soap
2 tbsp glycerin
½ cup olive oil
Directions
- Combine all ingredients together in a Blendtec blender, and blend until the mixture becomes smooth and creamy.
- Use a funnel to pour the thickened solution into an empty, clean pump bottle.
8. Salt dough
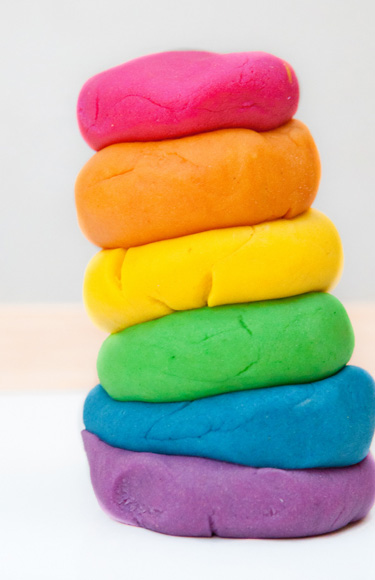
Store bought salt dough can be relatively expensive, and often dries out too quickly even when properly stored, but that doesn’t mean you should deny your kids the fun of playing with this particularly malleable modeling material. You can make your own salt dough in a matter of minutes, just by following this recipe.
Ingredients
1 cup water (warm)
1 tbsp vegetable oil
1 cup flour
1 tsp cream of tartar
¼ cup salt 2–3 drops food coloring
Directions
- Place all ingredients except for the food coloring into a Blendtec blender. Begin blending at low speeds, gradually increasing the speed over the course of a few minutes.
- Once the mixture becomes thick and doughlike, remove it from the blender and allow it to cool on wax paper before using it.
- If you’d like to add color to your dough, place it in a stainless steel bowl and add a few drops of food coloring. While wearing latex gloves, knead the food coloring gently into the dough, until desired color is reached.
- Store in an airtight container.
9. Toothpaste

What can be said about toothpaste? You need it. You use it. You’re used to needing to buy it. Well, not anymore. Now, you can make your own high-quality, low-cost toothpaste, while leaving out a number of the questionable ingredients that store-bought pastes sometimes contain. Thanks to Matt at DIY Natural for the recipe.
Ingredients
Filtered water
⅔ cup baking soda
1–2 tsp peppermint extract OR 10–15 drops peppermint essential oil (or any other flavor you might prefer)
1 tsp fine sea salt
Directions
- Combine baking soda, peppermint, and salt (optional), along with a small amount of water, in a Blendtec blender.
- Blend on low, adding small amounts of water as you go in order to reach the desired consistency.
- Store in a glass jar.