By Michelle of Fun on a Dime
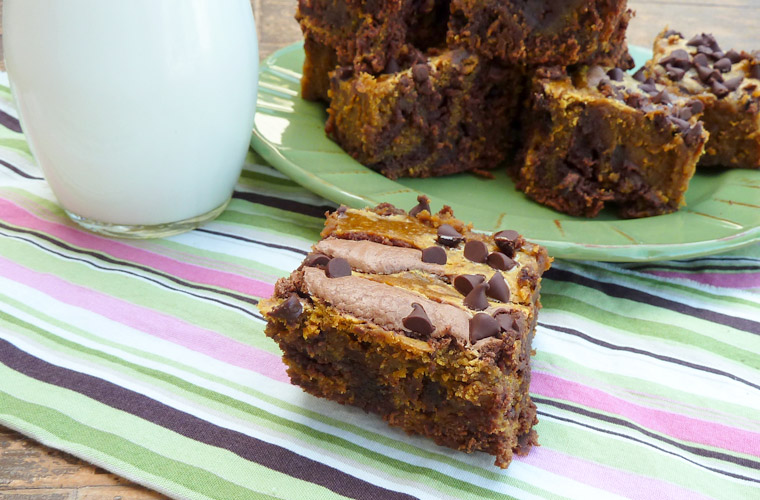
Pumpkin is often considered a fall food, but we love it year-round in our house! This recipe is great for any time of year—and even people who don’t usually like chocolate will dive into this. Just make it once and you love it too! The trick to this recipe is to mix the pumpkin and the chocolate separately, then add them to the pan to create more of a marble look.
In this recipe I’ll share the best way I’ve found achieve that marble look. It’s handy to have two Blendtec jars (a WildSide+ jar and a Twister jar), but not necessary. Having two jars makes it quick and easy to marble the pumpkin brownie mix together. Eat and enjoy!

Pumpkin Brownies
Ingredients
1 cup flour
¾ tsp baking powder
½ tsp salt
1 cup melted butter
2 cups white sugar
2 ½ tsp vanilla (or to taste)
4 eggs
¾ cup chocolate chips
⅓ cup cocoa
⅔ cup canned pumpkin puree (canned pumpkin)
1 tsp cinnamon
¾ tsp cloves
¾ tsp nutmeg
Directions
- Combine flour, baking powder, salt, butter, sugar, vanilla and eggs together in your WildSide+ and mix well.
- Split the mix evenly into two parts. If you have a Twister jar in addition to your WildSide+, put half the mix into it.
- In one part of the mix add the cocoa and mix together (chocolate chips will be added later).
- In the other half of the original mix add the pumpkin, cinnamon, cloves and nutmeg and mix well.
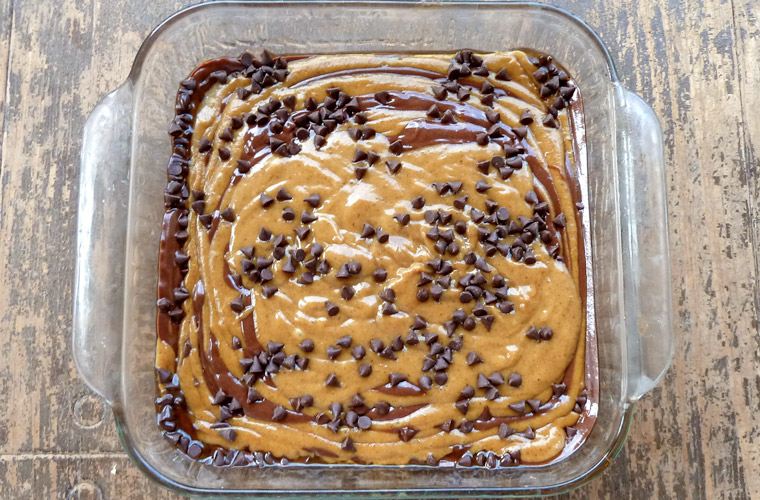
- In an 8x8 pre-greased square pan, marble the pumpkin and chocolate brownie mixtures together. To marble, pour a small amount of pumpkin mix (about ¼–⅓ cup) into the pan. Then pour the same amount of chocolate mix right in the center of the pumpkin mix and sprinkle with a few chocolate chips. Keep repeating this process until both the chocolate and pumpkin mixes are all in the pan. Sometimes you will need to shake the pan side to side to help it spread out to the sides all the way.
- Sprinkle the top layer with any remaining chocolate chips.
- Bake at 350 degrees for 35–40 minutes or until the center is cooked. They will be moister than normal chocolate brownies because of the pumpkin, so if the outsides look done and the center is close to being finished, you are good to go!


